Now that the galley Nice and cozy in my Garage, it was time to get down and dirty on it.... that is to continue the demolition... or Dis-assembly in this case. The first thing that I had to do was to remove the Fiddle rails. They were held in place using Stainless Steel Screws, covered by Teak Plugs. Based upon some reading I had done in several different places, the best way to remove the plugs to get to the screws was as follows:
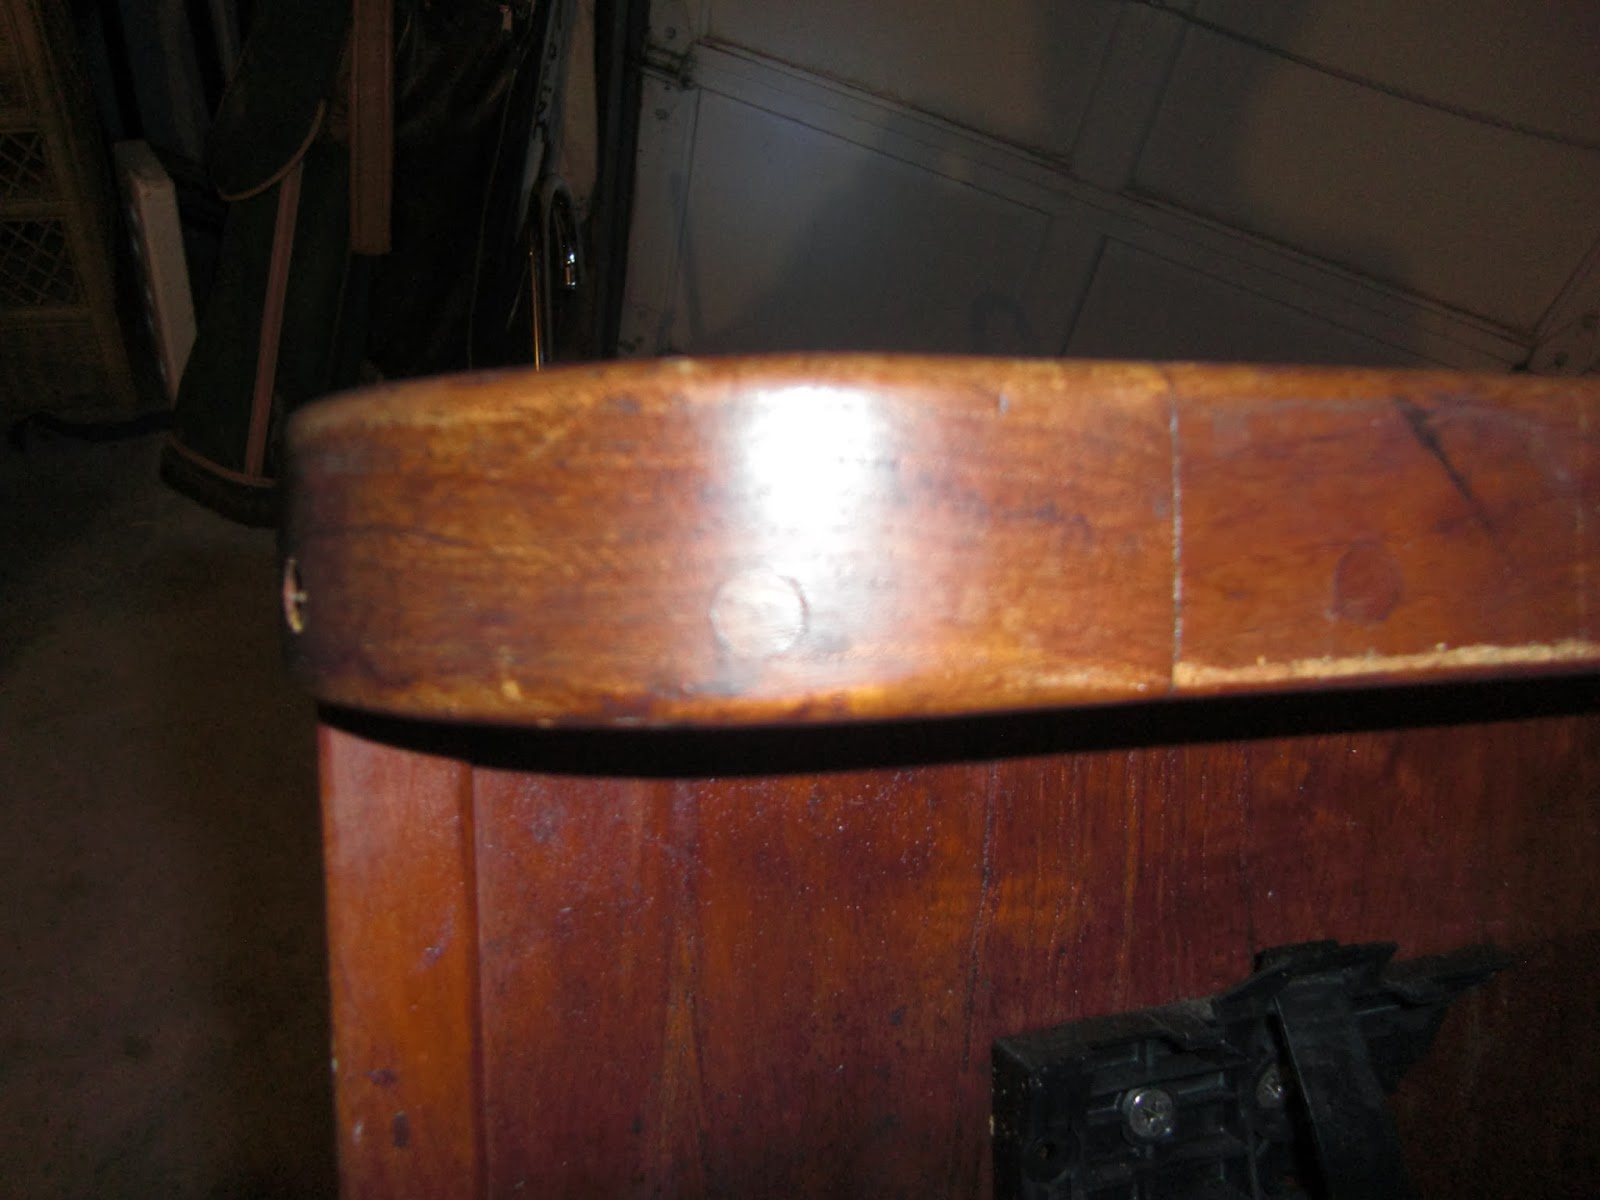 |
| A Teak Plug, waiting to be removed to get to the screw underneath |
The first thing to do is to drill a hole in the center of the plug, until you ground out against the screw that is underneath
 |
| Drill a hole |
Then insert a screw, slightly larger than the diameter of the hole you drilled. and start screwing it in.
 |
| Insert a screw |
The screw will ground out against the screw below and will lift out the plug.... well in theory anyway. My own experience was that it gave you a good starting point, as the top part of the plug came out in pieces, I then had to go in with a small screwdriver and pry out what was left, until I could clearly see the screw head.
 |
| Screwing in the screw will lift out the plug, well part of it anyway |
 |
| Using a small common screwdriver, pry out what remains of the plug |
 |
| Cleared out, and I can see the screw head. |
Then it was a matter of unscrewing the screw holding the fiddle rail. I found that a regular screwdriver worked better than an electric drill. I also found that sometimes I had to dig out debris in the screw slots so I could insert the screw driver. I used a fine file, but a Dental tool would work even better... if I had one... (another tool added to the list! LOL)
 |
| Back out the screw! |
I continued until I had removed all of the fiddle rail. Then it was a matter of removing the remaining sink and the faucet. Then it was time to remove the counter off of the cabinet. this was a matter of about 9 - 12 screws, screwed in from underneath through some cleats that were attached to the cabinet.
 |
| Everything removed from the Counter |
 |
| The counter Removed. Games you can't lose: "Where is the water damage on this counter?" |
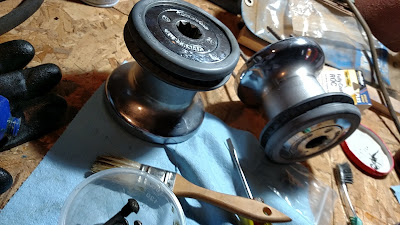
The next thing I turned my attention to were the sinks. I was NOT going to put them back in this condition. I removed the drains. Easier said than done. I used 2 large Water Pump Pliers (Properly referred to as Channel Lock pliers, as there are a series of channels used to make the space between the Jaw bigger or smaller) set to their largest setting, and then a LOT of brute strength to FINALLY get it to budge. and that was just the lower connection. the sink Trap itself was more difficult, but finally, using a set of Water Pumps, and a couple of screwdrivers shoved down the sink side of the trap to keep it from turning, I FINALLY was able to remove it. It wasn't surprising that it was that hard to remove, after all, it had only been there for about 36 years! Now to focus on cleaning up the rest of the sink, Inside and out!
 |
| Sink trap removed. Notice the orange-ish colored stuff at the flange at the bottom. I think this is Plumber's Putty. It isn't supposed to get hard like this, but after 36 years, I guess so! |
 |
| I think this sink is, ummmmm, a COUPLE of years old, judging by the illustration... LOL... |
 |
| Had to remove this stuff with a paint scraper! |
|
 |
| Scraped off, now to come and get the rest off with a drill mounted Wire Brush! |
 |
| Getting there.... about half way done. |
Once the Sinks were cleaned up, it was time to prepare the new counter top, It was already cut to width (13 inches), as I had it ripped (that is, cutting along the long edge of the sheet of plywood which is 8 feet long) at the hardware store. (I would urge anyone do this at the store if possible, as it is done at no charge, they have the proper tools to handle large sheet goods like this, and it makes them easier to handle. In my case, I couldn't have gotten the sheet home if I didn't as it wouldn't fit in my car.) I used the old counter as a template, placing the bottom of the old counter against the top of the new, clamped them together, then traced the outline. It was then a matter of cutting along the lines. I did slightly reposition the sinks to make as much counter space as possible, and then marked where the faucet would go by tracing around the supply lines. I used a Forstner Bit (a drill bit that drills flat bottomed holes) to drill the faucet holes, as it would create no tear out, as I started on one side, then finished on the other side. For cutting out the sink holes, I used a hand held Jig Saw.
 |
| One sink hole is cut out, and I have clamped this to some plywood scrap to cut out the other hole. |
 |
| Notice the holes for the faucet supply lines are drilled out, and that I drilled holes in the corners of the sink hole. This is done so I can more easily turn the corner. Two of the sides are already cut (left and bottom) |
 |
| Other hole completed (with the jig saw used). |
 |
| A Dry Fit of the sinks and faucet.... PERFECT! |
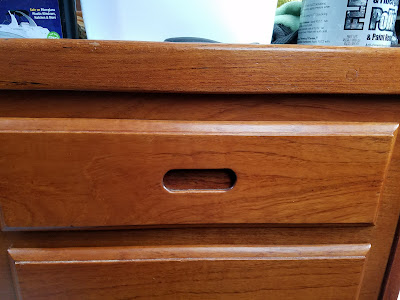
Now for the Refinishing part. I wanted to put new varnish on all of the teak fiddle rail, Cabinet, drawers and door. the first step was to fill the many holes and dents from past installations of who knows what. To do this, you can purchase a variety of products designed to do this, but I used a little Woodworking trick I learned long ago, although in hind sight, My execution of the trick was a bit flawed. The first thing you need is sawdust of the wood you are filling. This is where I made my error, At this time I didn't have any SAWdust, but I had plenty of SANDING dust.... This is not the same, as it has a lot of impurities in it... namely Old varnish. so Use this technique, but use actual saw or drill dust and the results will be better....not that mine turned out really bad....
So here is the technique, Take sawdust from the same type of wood you are filling (I goofed and used sawdust, which caused the putty to be a little darker than normal. Better to use actual saw or Drill dust, where the fibers are a little bigger, as noted later)
 |
| here is the sanding dust I collected |
Then you will need some wood glue, and a putty knife and a piece of plastic to mix on... here I used a package mailing window...
 |
| The ingredients |
Squeeze some glue on the plastic:
Then add the Sawdust:
then knead the mixture, adding sawdust until you can make a ball:
Then it is a matter of identifying a hole or dent and filling it with a putty knife:
You want to over fill a little bit, so you can sand it smooth later.
I filled many holes in the cabinet and in the fiddle rail with this little ball.
Once it is dry, you can sand it smooth with the wood surface.
 |
| Sanding the filler smooth with my random orbit sander. |
 |
| Here is the sanded filler... it is a little dark because of the source of the sawdust... it was sanding dust which also included varnish particles... Next time will be better.... |
|
The great thing about this filler is that it will take a stain just like the real wood, well because it is made of real wood.
 |
| The filler can be sanded, painted, or in this case, Varnished. |
I decided to try a Technique I recently saw on YouTube (ahhh, the wonders of social media!)
You see, most brushes are really too long and flexible to do a good job of pushing the Varnish around, especially in the cooler temperatures we are having now. So to counter this, I took a bit of Painter's tape and taped brush until only about an inch of the brush was exposed.
Then it was a matter of brushing on the Varnish, and tipping out any bubbles. Bubbles are the ENEMY of good finishes. A couple of points on varnishing:
1. STIR the varnish with a paint stirrer, NEVER shake to mix... this will introduce bubbles into the varnish and they are the enemy!
2. Don't overload the brush. Dip the brush about 1/2 inch, then scrape off one side. Start your stroke with the loaded side down, about a half inch from your wet edge (or edge of the piece) and stroke away from the wet edge, then stroke back towards the wet edge. Continue all the way down the piece.
3. It can help to go at angles to the grain to fill in all the pores, but the LAST stroke should always be WITH THE GRAIN. Then tip out any bubbles (hopefully there won't be any) by letting the brush ride very lightly across the surface With the grain. This should pop any bubbles.
 |
| Working my way down the piece |
 |
| The end of the final tipping stroke - stroking with the grain |
I then Hung them up to dry using some drywall screws through the existing screw holes, and using my garage rails to hang them. It worked fairly well for the fiddle rail.
 |
| hanging the fiddle rails |
 |
| pretty ingenuous, eh? LOL... |
 |
| I used a large lag bolt on the under side of the curved pieces to hold them while varnishing them and to stand them to dry. |
 |
| Here is a sneak peek of what they will look like against the new counter... the white makes the wood pop, don't you think? |
 |
| Because I needed counter space to put all the drawers, etc to dry, I had to clean off my work bench. I had to take a picture of it, because I didn't know when it would be this clean again! LOL... |
|
In the next installment, I will cover putting it all back together, making teak plugs and installing them, and reinstalling the plumbing in the sinks!
Till then, be well my friends! And PLEASE! Feel free to add a comment below if you found this at all useful. I would be happy to answer any questions you might have... I am finding that Bloggers live for comments to their blogs! LOL...


Comments
Post a Comment